
If you’re wondering whether you can dry green loofah off the vine once harvested before they’re brown, follow these step by step instructions.

How to Dry Green Loofah – Photo © The Gourmantic Garden
Unlike growing radishes or microgreens, growing loofahs is a long term commitment. In my temperate Sydney climate, I sowed seeds in August and the vine was still bearing fruit in July of following year.
Loofah Life Cycle – Photo © The Gourmantic Garden
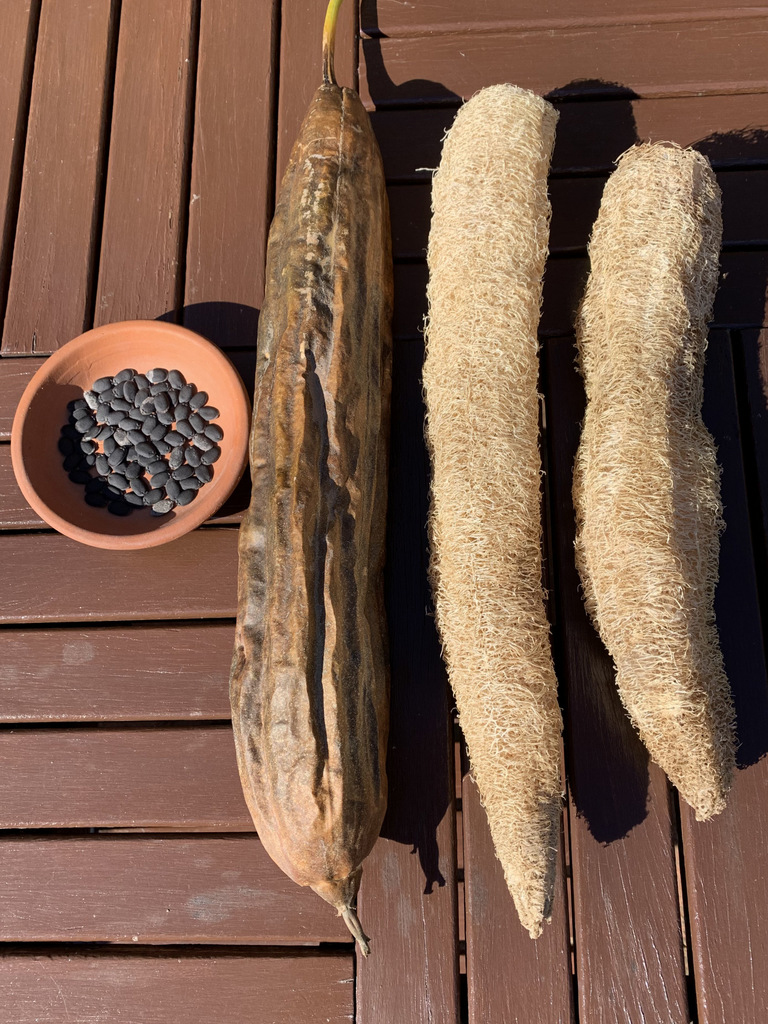
Loofahs are best left to dry on the vine. They’re ready to harvest when their skin turn brown and brittle and the fibrous flesh has dried to what we know as the loofah sponge, as seen in the above photo.
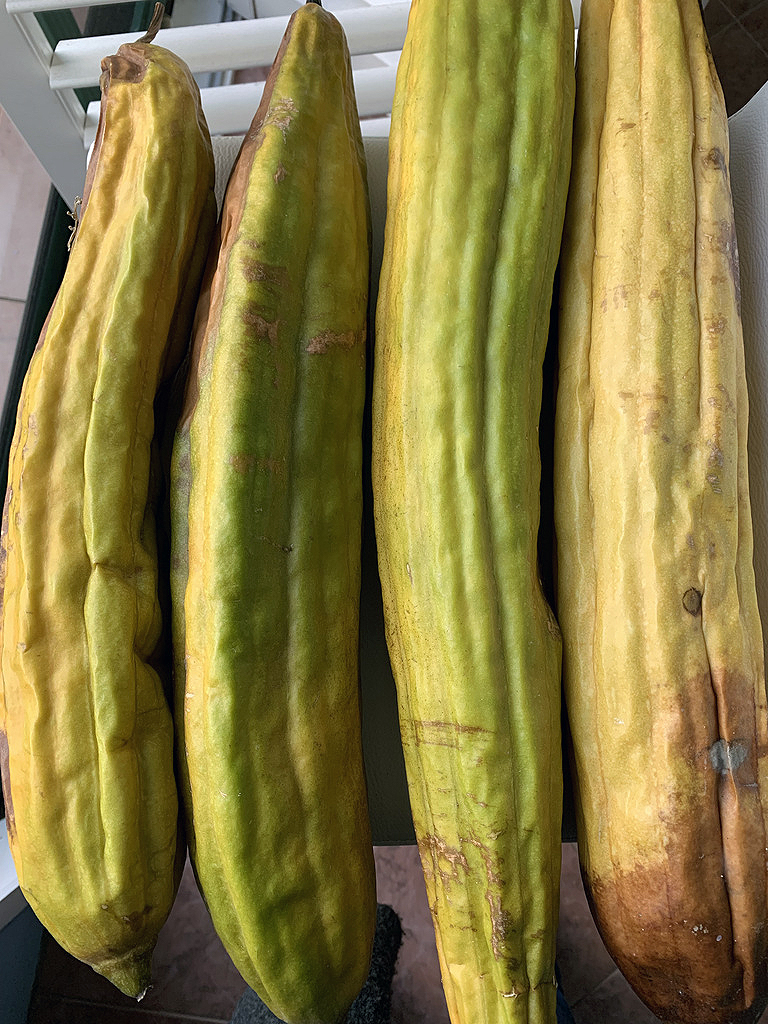
I have been harvesting gourds since summer and by mid-July, although the plant was slowly dying in the cold, I still had three left on the vine, green and heavy with no sign of turning brown. After a bout of solid and heavy rain, two started to rot and the time had come to remove them.
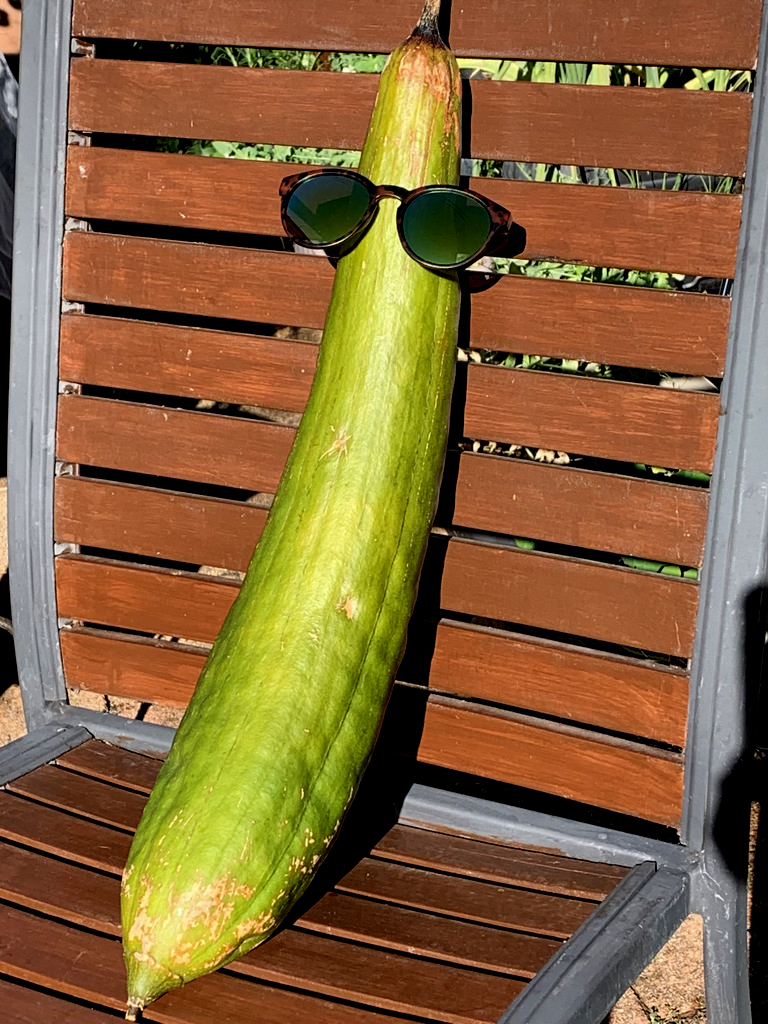
Sunbathing Loofah – Photo © The Gourmantic Garden
The third was still green and heavy, and it took a little over a month of daily sunbathing it when it wasn’t raining, and bringing it indoors at sunset.
Loofahs Drying by the Windowsill – Photo © The Gourmantic Garden
I had previously harvested semi-dry gourds and left them to dry by the windowsill (see photo above), turning them every so often. This method worked well, however in this case, the smaller gourd had turned black at one end while it was green on the other, and the larger gourd (in the first photo) developed a horrible slimy mess at the bottom that leaked sap. There was no chance these could be dried indoors.
Could they be saved? I’m pleased to say that my trial was a success. I documented every step of how to dry a green loofah that was starting to rot but in my rush, I didn’t take photographs of the process.
How to Dry Green Loofah / Luffa
- Using rubber gloves, peel the loofah starting from one end and working your way down. It’s a slippery slimy process so it helps if your hands are protected.
- Make sure you remove all the peel as any remaining will cause it to brown and turn mouldy.
- Cut away the rotting sections, anything dark brown or black, all the slimy parts and discard.
- Once it’s completely peeled, use the hose with a strong spray attachment to give it a thorough rinse inside and outside, flushing as much of the slimy sap and seeds as possible. You may need to repeat this step a few times. Discard the seeds as they’re not viable.
- At this stage, the loofah is a little cleaner buy it’s still slimy on the inside and needs a thorough clean. You could cut thought it lengthwise and remove the centre core but I had other plans. Otherwise, soak it in water with a little eco-friendly detergent overnight.
- The next day, squeeze as much of the remaining pulp and seeds out as possible then give the loofah a thorough rinse under running water then rinse again.
- If the loofah is discoloured, you may want to soak it again, this time in a mixture of 10% bleach solution. I left mine soaking overnight.
- The next day, rinse the loofah well under running water to remove remaining seeds and sap, and squeeze it all over to express as much of that as possible.
- Once the loofah is completely clean, leave it to dry it in the sun or hang it on a clothes line. Rotate it every so often to expose all sides to the sun. As it starts to dry, keep shaking it to remove the seeds. You could dry it in a very low oven at 50oC or place it in front of a fan but I haven’t tried this method.
- Once the loofah is completely dry, and you’ve removed all the seeds, it’s ready to use.
Here’s the end result. I’m very pleased I was able to salvage some of what I have spent months growing and nurturing.
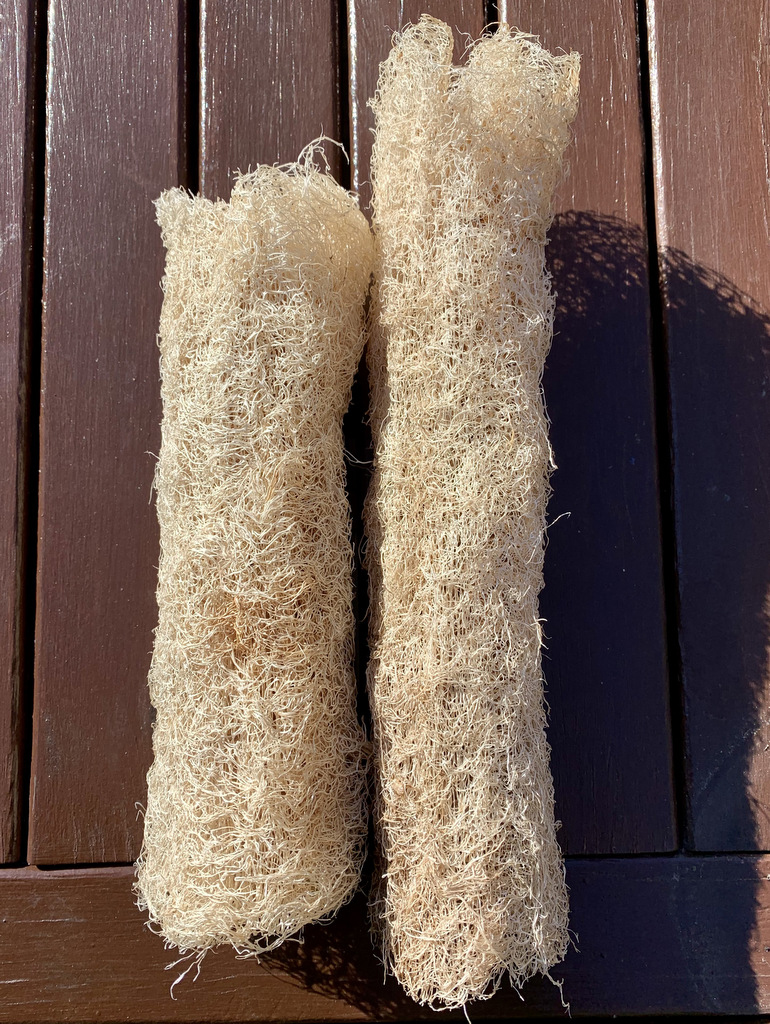
Dry Loofah – Photo © The Gourmantic Garden
The process of drying a green, ripe and in this case rotting loofah takes time but if you’ve invested months growing the fruit on the vine, it’s well worth a few extra days’ work.
Want to Know More?
You’ll find more information on how to grow 50 botanicals, which varieties to try, how to pair them with food and spirits, and how to use them in cocktails including a full recipe in my 260+ page digital book GROW YOUR OWN COCKTAIL GARDEN available now.

You may also like… How to Transplant Tomato Plants Bearing Fruit
